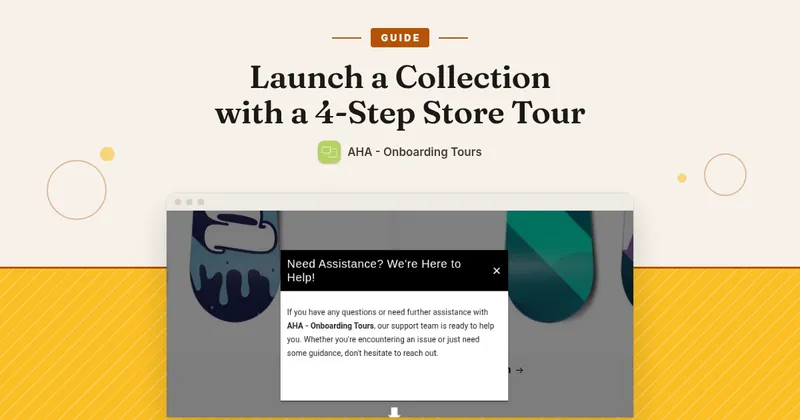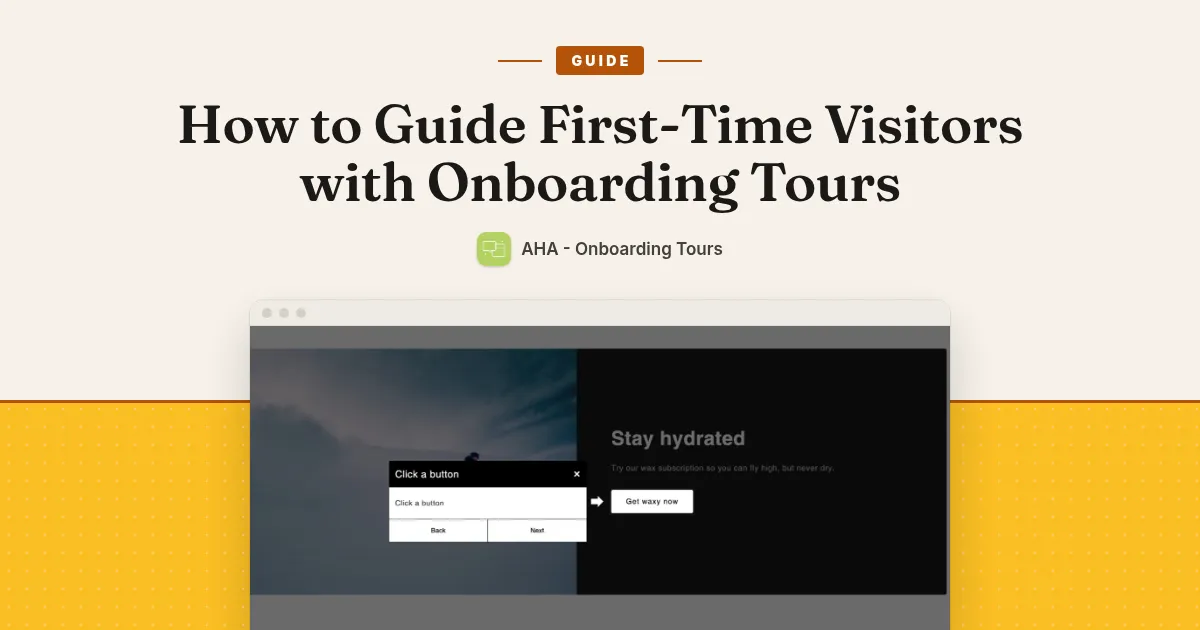
A store tour is a short guided walk across one page: the page dims, a popup points at one thing, and the shopper clicks Next to see the following thing. It works well for a new visitor who does not know where to look. AHA – Onboarding Tours lets you build one without code. (Inside the app it may appear as Interactive Product Tours.) This guide builds a simple homepage tour from scratch.
The app has one plan, with a 7-day free trial. The current price is on its App Store listing.
Part 1: How to set it up
Step 1: Finish the onboarding
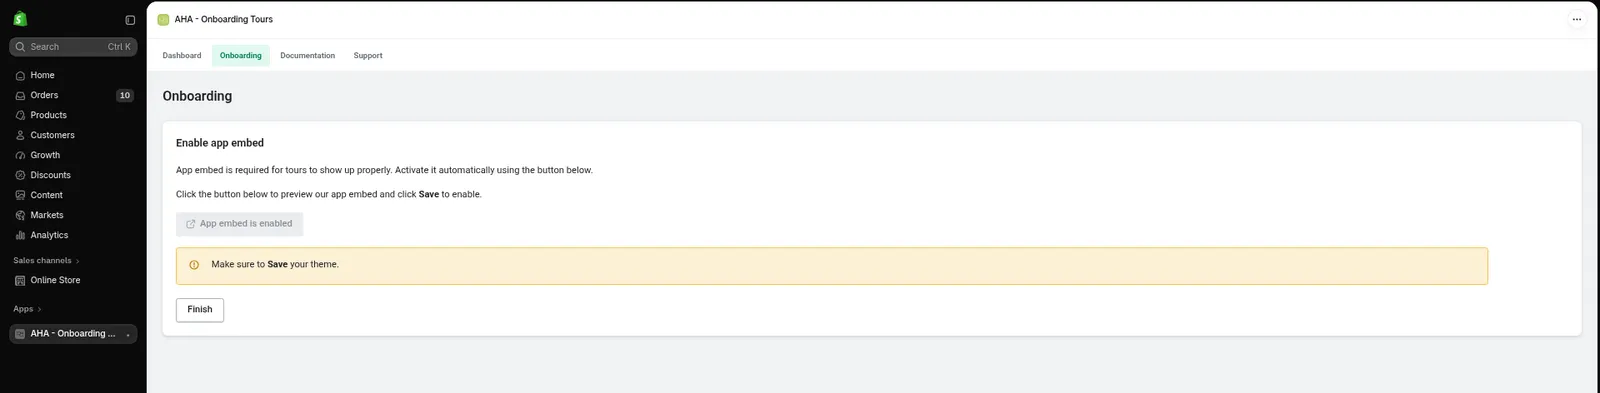
After you approve the charge, the app opens on Onboarding.
- Under Where would you like to install it?, pick your live theme, or an unpublished theme if you want to test first.
- Click Start setup.
- Click Enable app embed. The theme editor opens with the embed switched on.
- Click Save in the theme editor.
- Back in the app, click Finish. You land on the Dashboard.

Step 2: Create the tour
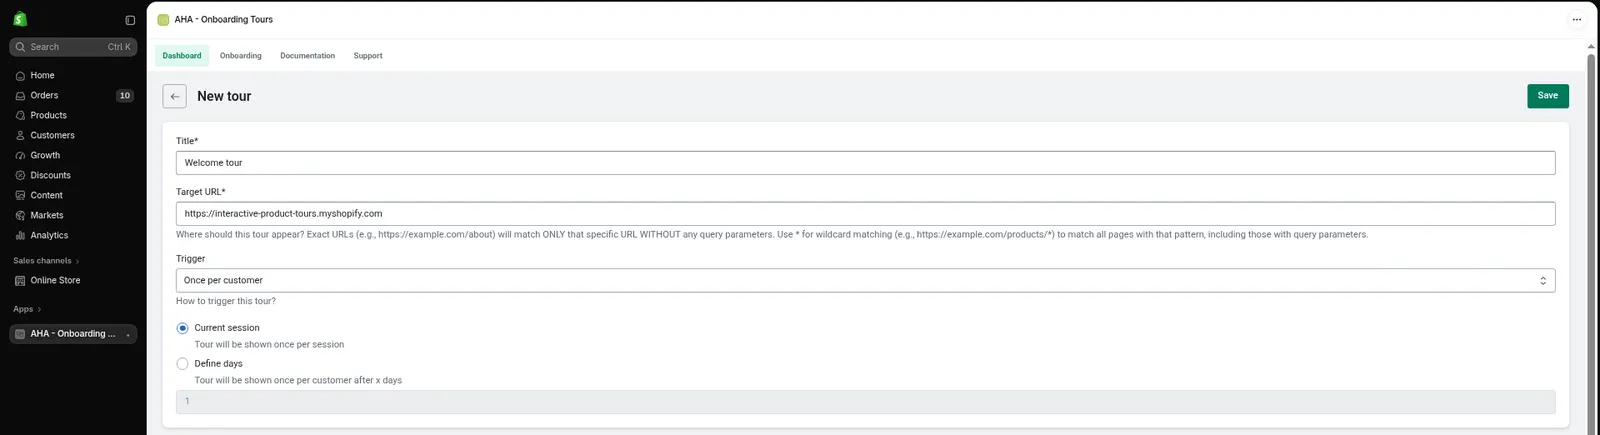
On the Dashboard, click Add Tour and fill in the basics:
- Title: a name only you see, such as “Welcome tour”.
- Target URL: the page where the tour runs, such as your homepage address. An exact address runs only on that page, and not on that same page with extra text after a question mark (a query string). If you need the tour to run on a family of pages, a
*wildcard such ashttps://yourstore.com/products/*covers them. The Target URL must be a full URL, starting with https://. - Trigger: choose Once per customer for a welcome tour, then Current session. Other options are Define days, which shows the tour again after the number of days you enter, Pick an element, Install manually and Always show.
Step 3: Write the first step
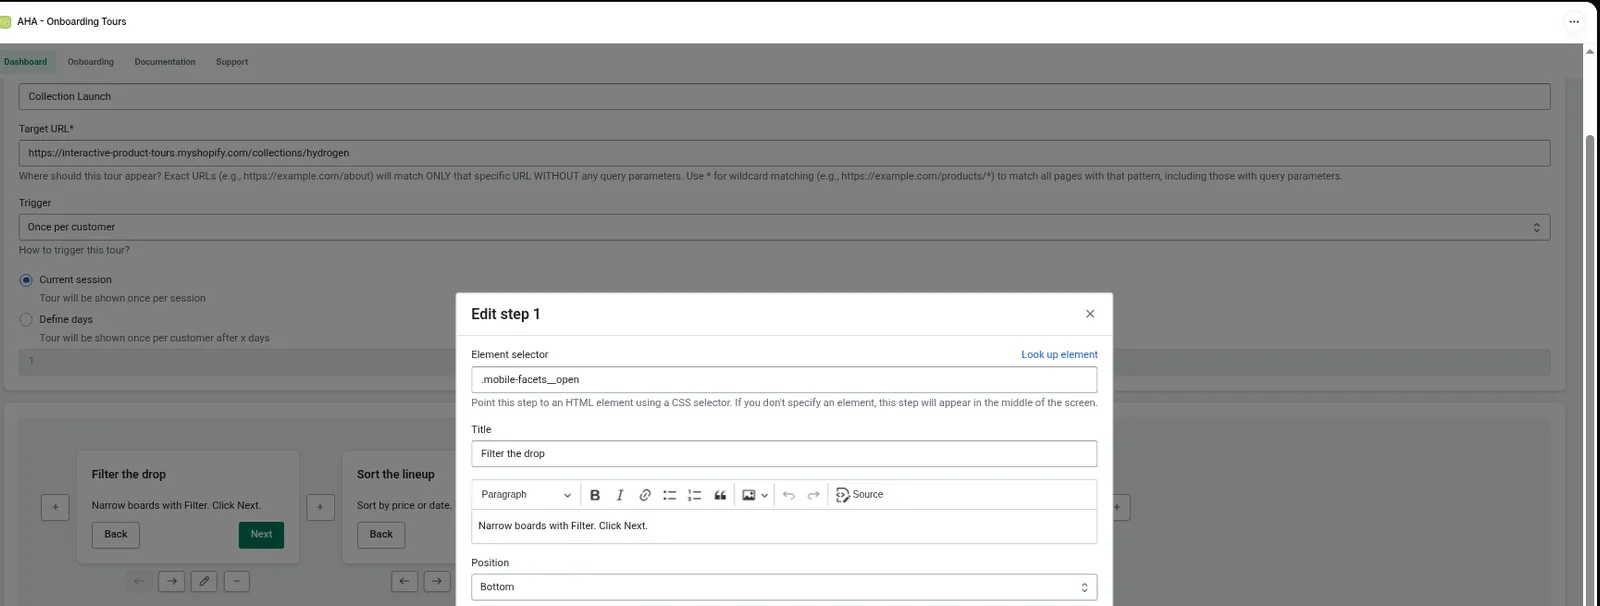
In the Flow section, click the pencil on step 1.
- Fill in the step Title and the content. You can also add an image or GIF.
- Leave Element selector empty. A step with no element appears as a popup in the centre of the page, which suits a hello message.
- Click Save in the modal. This only closes the step editor.
Step 4: Add steps that point at things
Click + to add a step. For each new step:
- Click the pencil.
- Click Look up element, then click the item on your own store, such as your menu, search or cart icon. The app fills in the Element selector for you.
- Write a short title and content.
- Set Position. This is where the popup sits next to the item, and there are 12 positions.
- Click Save in the modal.
A short tour is easier to follow. Three or four steps is plenty for a first one.
Tip: use Look up element with a real page address. If your Target URL has a * in it, temporarily switch it to a real page while you pick elements, then change it back before saving.
Step 5: Save and check
Click the page-level Save once and go back to the Dashboard. Open the tour again, then click View on your store.
Do not keep clicking Save on a brand new tour. Each click can create another copy. Save once, go back to the Dashboard and open the tour again if you want to edit it.
Part 2: What shoppers see
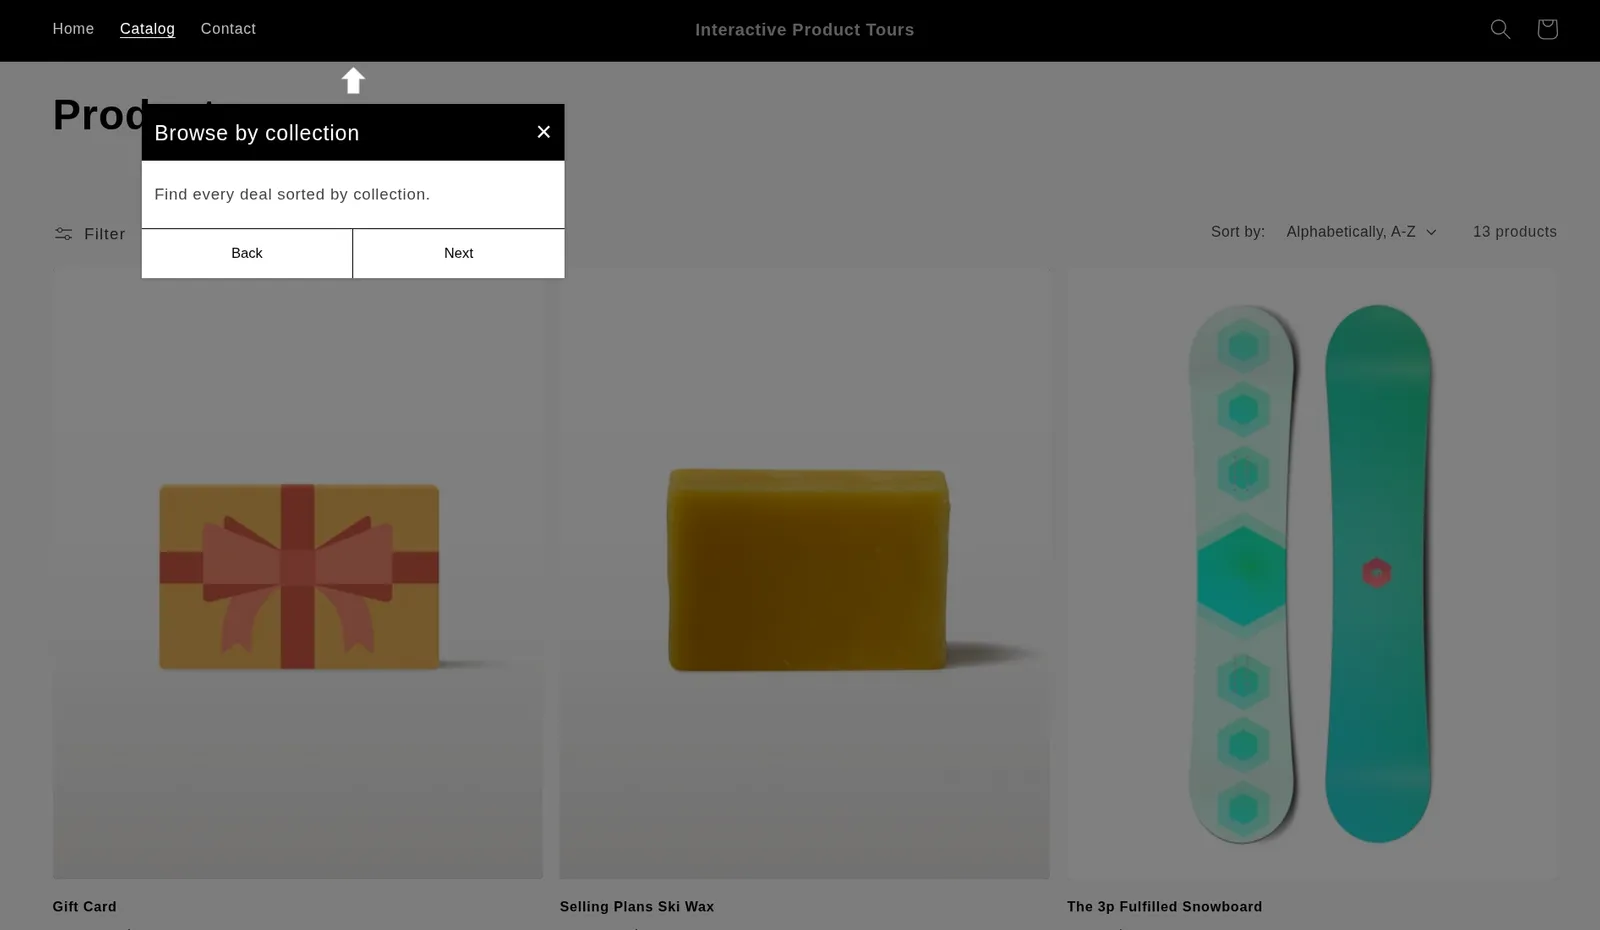
- A dimmed page. The page behind the popup is dimmed, and the page scrolls smoothly to the item the step points at.
- A highlighted item. The item stays visible, and the popup points to it with a small arrow.
- A centred hello. Your first step, with no element, appears in the middle of the screen.
- Next and Back. Every step has both buttons. On the first step, Back is shown but there is nothing before it. The Next button on the last step finishes the tour.
- A close icon. Each step has an x in the corner, and a shopper can leave at any time.
- One run only. With Once per customer, a tour that has been closed or finished does not start again in that session. With Define days it comes back after your number of days. This works through the shopper’s browser, so the app cannot single out returning visitors.
If the tour does not show
- Check that the app embed is on and saved in the theme editor.
- Check the Target URL. An exact address does not match a page that has a query string.
- Open the page in a private window, because your own browser may remember that you already saw the tour.
Last checked: October 2026
AHA – Onboarding Tours: https://apps.shopify.com/interactive-product-tours