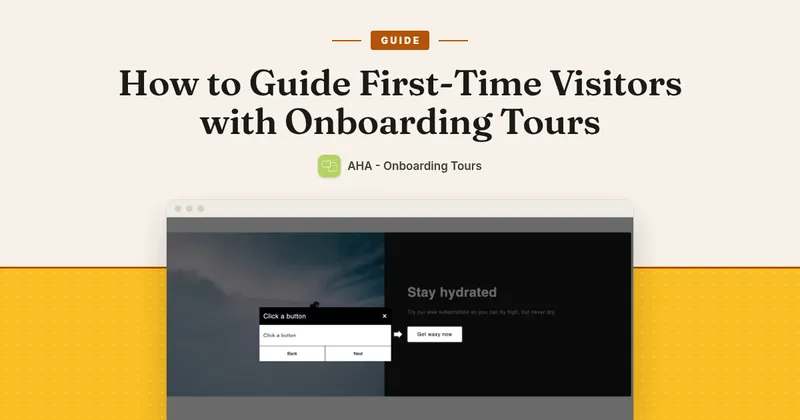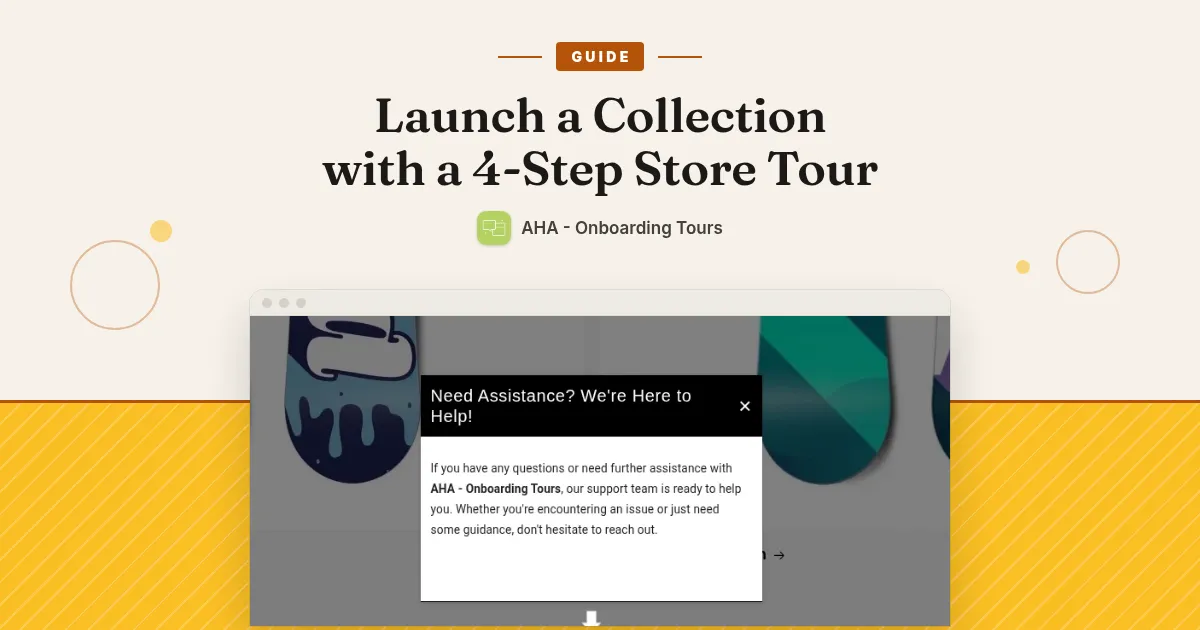
A new collection usually gets a banner, an email and maybe a post. A store tour adds something different: it walks a shopper across the collection page itself and points at the things that matter. This guide builds a four-step tour with AHA – Onboarding Tours. (Inside the app it may appear as Interactive Product Tours.)
The app has one plan, with a 7-day free trial. The current price is on its App Store listing.
Part 1: How to set it up
Step 1: Check the app embed
On first install, use the Onboarding page: pick your theme, click Start setup, click Enable app embed, click Save in the theme editor, then Finish. Without the embed, tours do not appear on your storefront.
Step 2: Create the tour
On the Dashboard, click Add Tour.
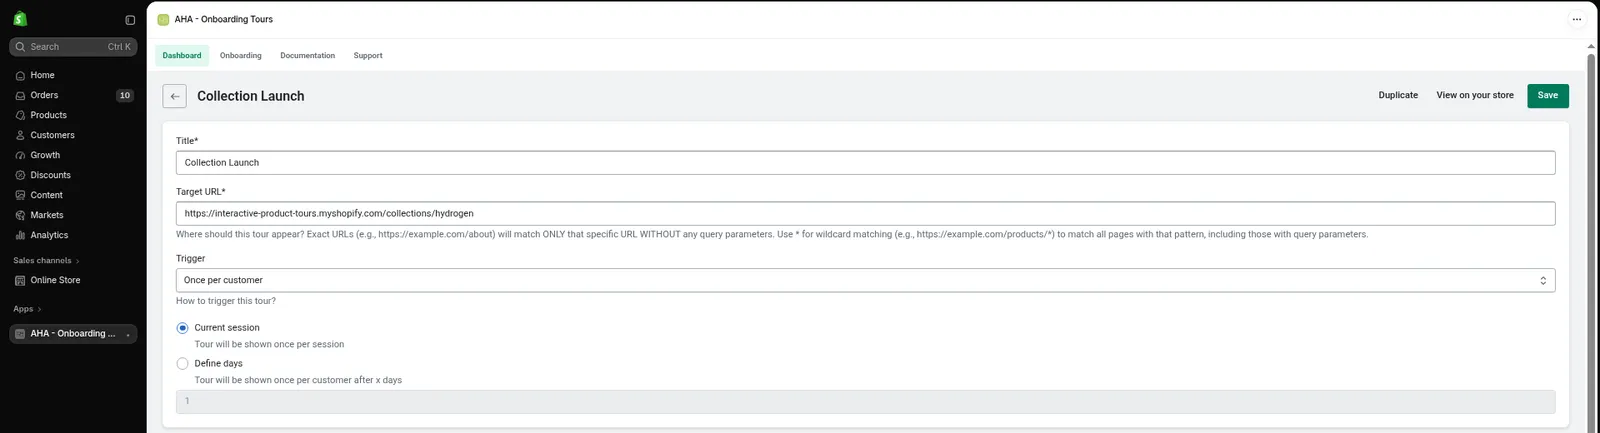
- Title: an internal name, for example “New collection”. Shoppers do not see it.
- Target URL: the address of the collection page. An exact address matches only that page without extra text after a question mark (a query string). If shoppers often reach the collection with a filter or sort applied, the address will have one, and the tour will not run. A
*wildcard ignores query strings. For example,https://yourstore.com/collections/*matches collection pages in general, so it also runs on your other collections.
Step 3: Choose the trigger
Under Trigger, choose Once per customer, then Current session or Define days. A closed or finished tour then does not repeat for that visitor, either for the visit or for the number of days you enter. Use Always show only while you are testing, because it runs on every page load.
AHA works from the shopper’s browser, so it cannot target returning visitors as a group.
Step 4: Add four steps
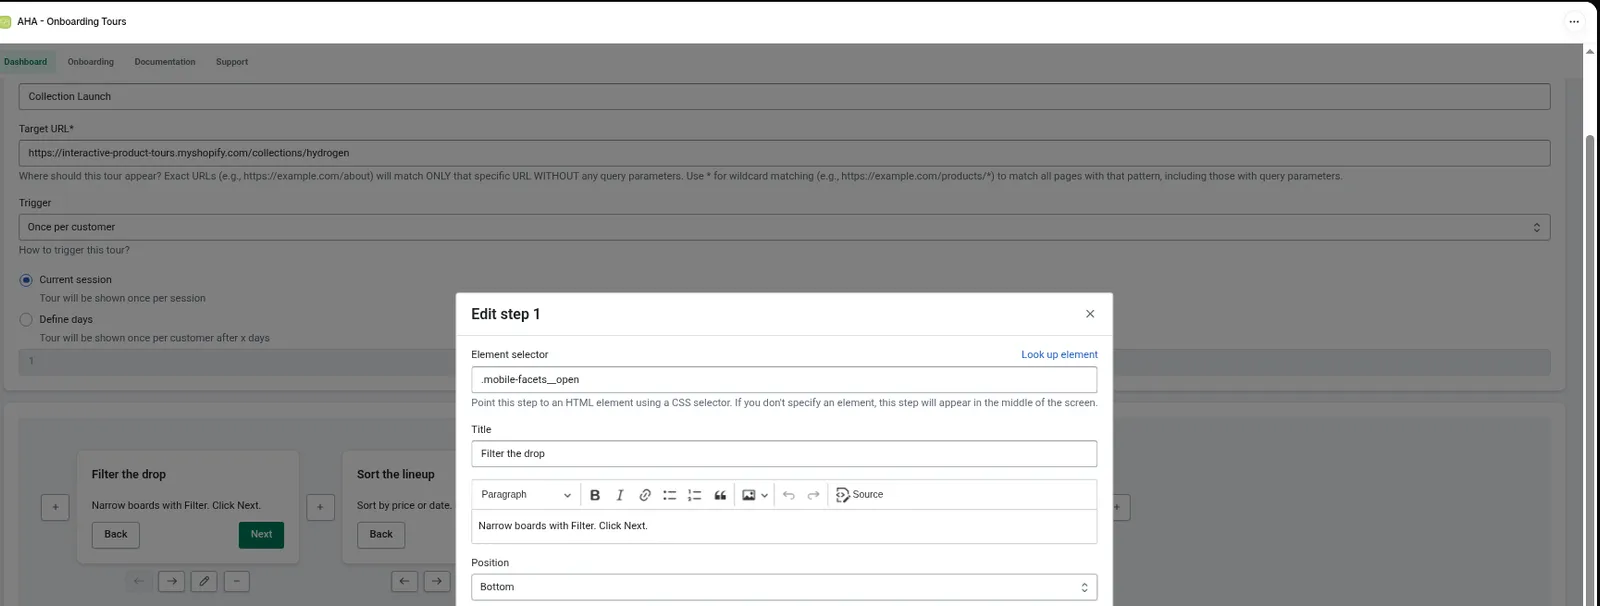
In the Flow section, click + to add steps. For each one, click the pencil, click Look up element, click the item on your live collection page, then write the Title and content and choose a Position. Because Look up element needs a page to open, set a concrete Target URL first and switch to a wildcard afterwards if you want one.
Suggested four steps:
- The collection title. Say what is new in a sentence.
- A featured product. Say why it matters, such as who it is for.
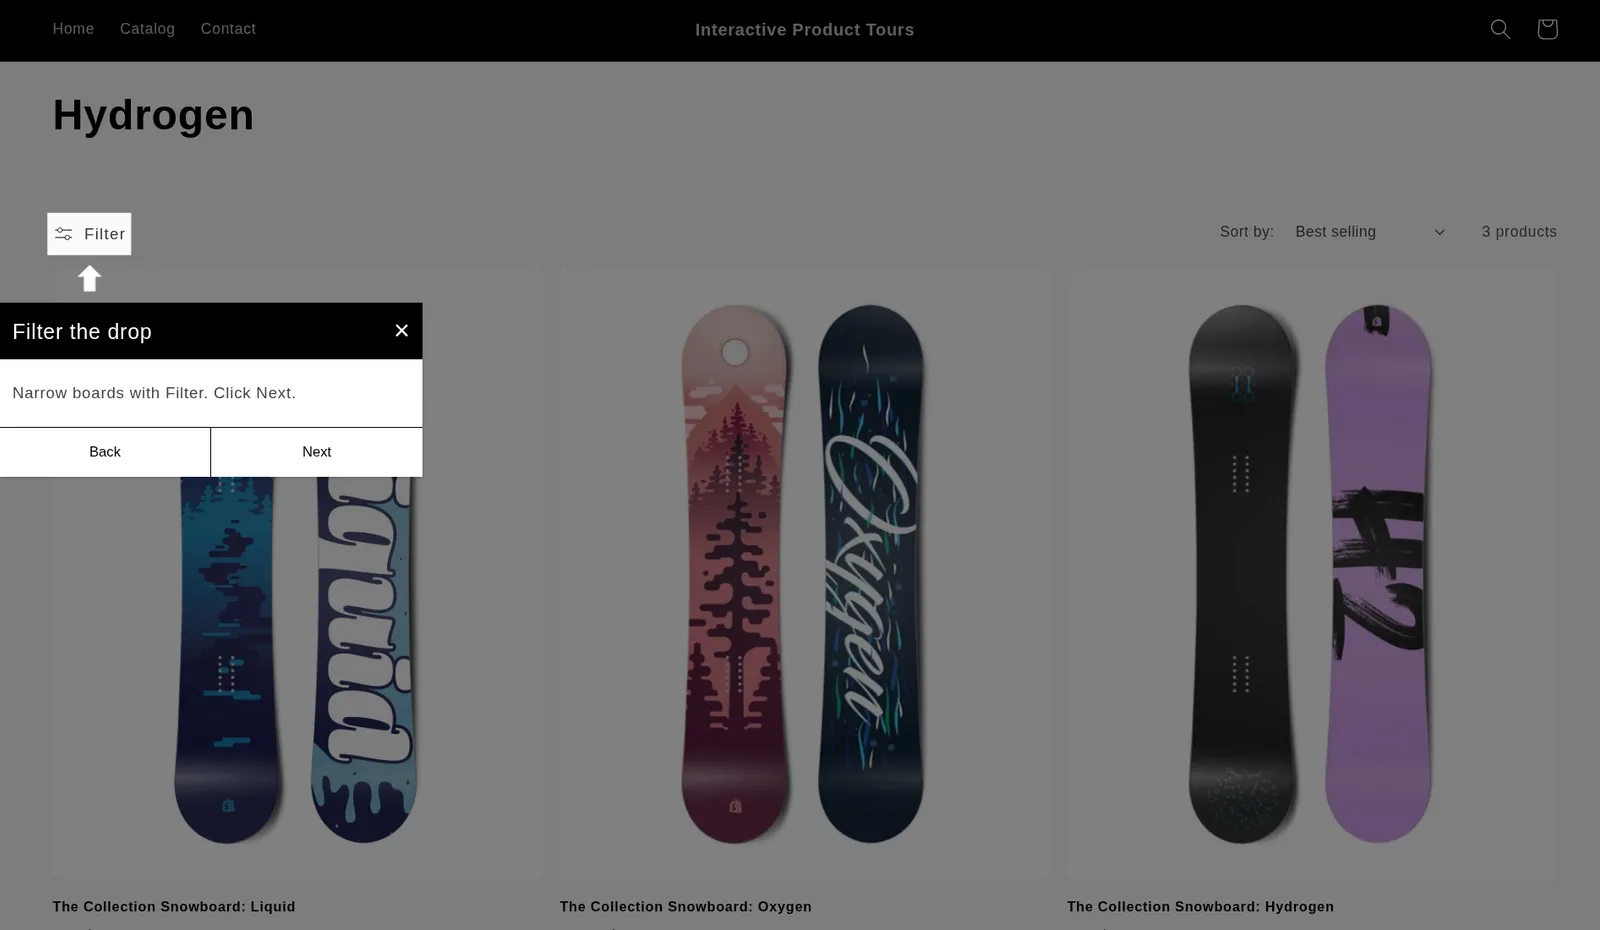
- The filters or sort. Explain how to narrow the list.
- A product card or its add to cart button. Point at the next action. Not every theme has an add to cart button on the collection page, so choose the closest control your theme shows.
Click Save in the modal after each step.

Four steps is a good length. Launch day is for finding products, so avoid turning it into a full site walkthrough.
Step 5: Save once and preview
Click the page-level Save once and go back to the Dashboard. Reopen the tour, then click View on your store. If your Target URL has a *, that button opens the literal address, so open a real collection page in a private window instead.
Do not save a new tour repeatedly, because each extra save can create another copy.
Part 2: What shoppers see
- A dimmed collection page. When the page loads, it dims and scrolls smoothly to the first item.
- A popup attached to that item. Each step points at its element with a small arrow, placed on the side you chose with Position.
- Step by step. Every step has Next and Back. The last Next finishes the tour, and a close icon (x) lets shoppers leave early.
- A stop. Once finished or closed, the tour does not start again for that visitor in that session, or for the number of days you set.
If a step looks wrong
- If a step has no element, or its selector no longer matches anything, its popup appears in the middle of the screen. Edit the step and use Look up element again.
- If the tour does not start at all, check the Target URL and that the embed is saved.
- Check your tour in a private window. Your own browser may remember that you have already seen it.
Last checked: October 2026
AHA – Onboarding Tours: https://apps.shopify.com/interactive-product-tours