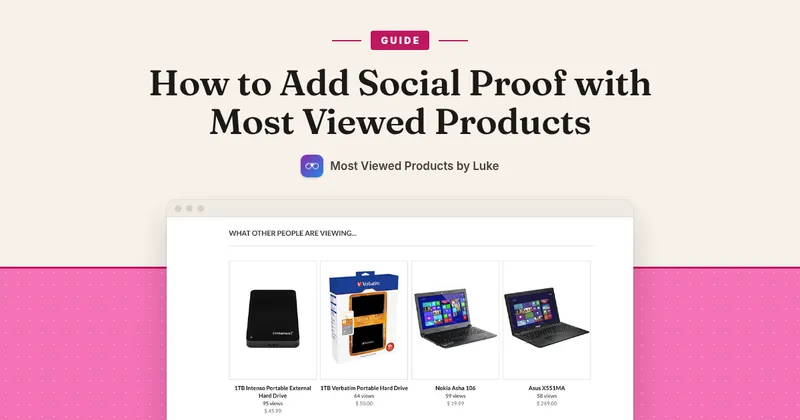
A homepage has a lot to do. It has to say who you are, and it also has to point a new visitor at something worth opening. A hero banner does the first job well. A row of your most viewed products can do the second one, and it updates itself so you do not have to re-pick products by hand. This guide shows how to add that row with Most Viewed Products and tune it.
Know the limits first:
- The row ranks by product page views. It does not use sales or cart data.
- The list is not real time. It is rebuilt about every 3 hours.
- Cards show an image, a title and a price, and no view counts.
The app has one plan, with a 7-day free trial. The current price is on its App Store listing.
Part 1: How it is configured
Step 1: Enable the app embed
After installing and approving the charge, the app’s Homepage tab shows “Action Required: Enable App Embed in your Theme”.
- Click Enable in Theme Editor. Most Viewed Products Core switches on.
- Click Save in the theme editor.
- Return to the app and click Recheck Status. The app shows “App embed is enabled and verified successfully!”
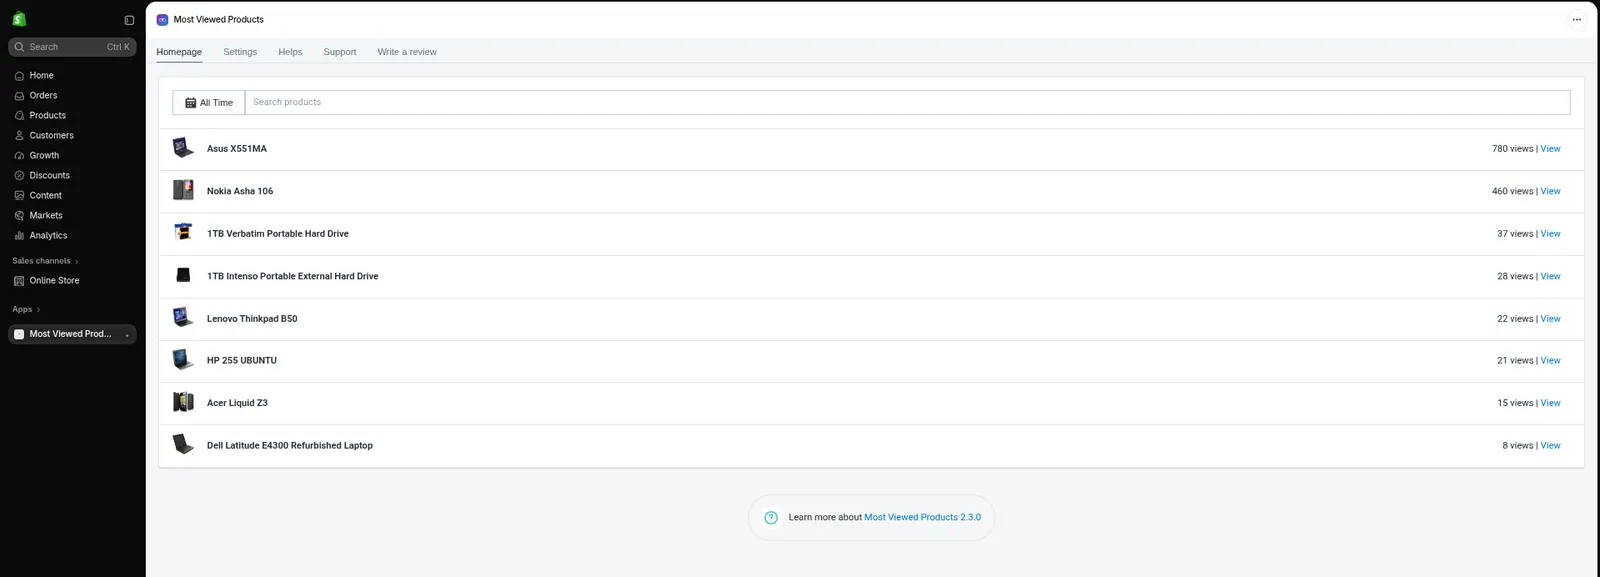
Step 2: Add the row to the homepage
Open the app’s Helps tab, find “How to display Most Viewed Products widget?” and click Add Section to Homepage. The theme editor opens with the row already added. You can also do it by hand: open the homepage in the theme editor, click Add section, open the Apps tab and choose Most Viewed Products.
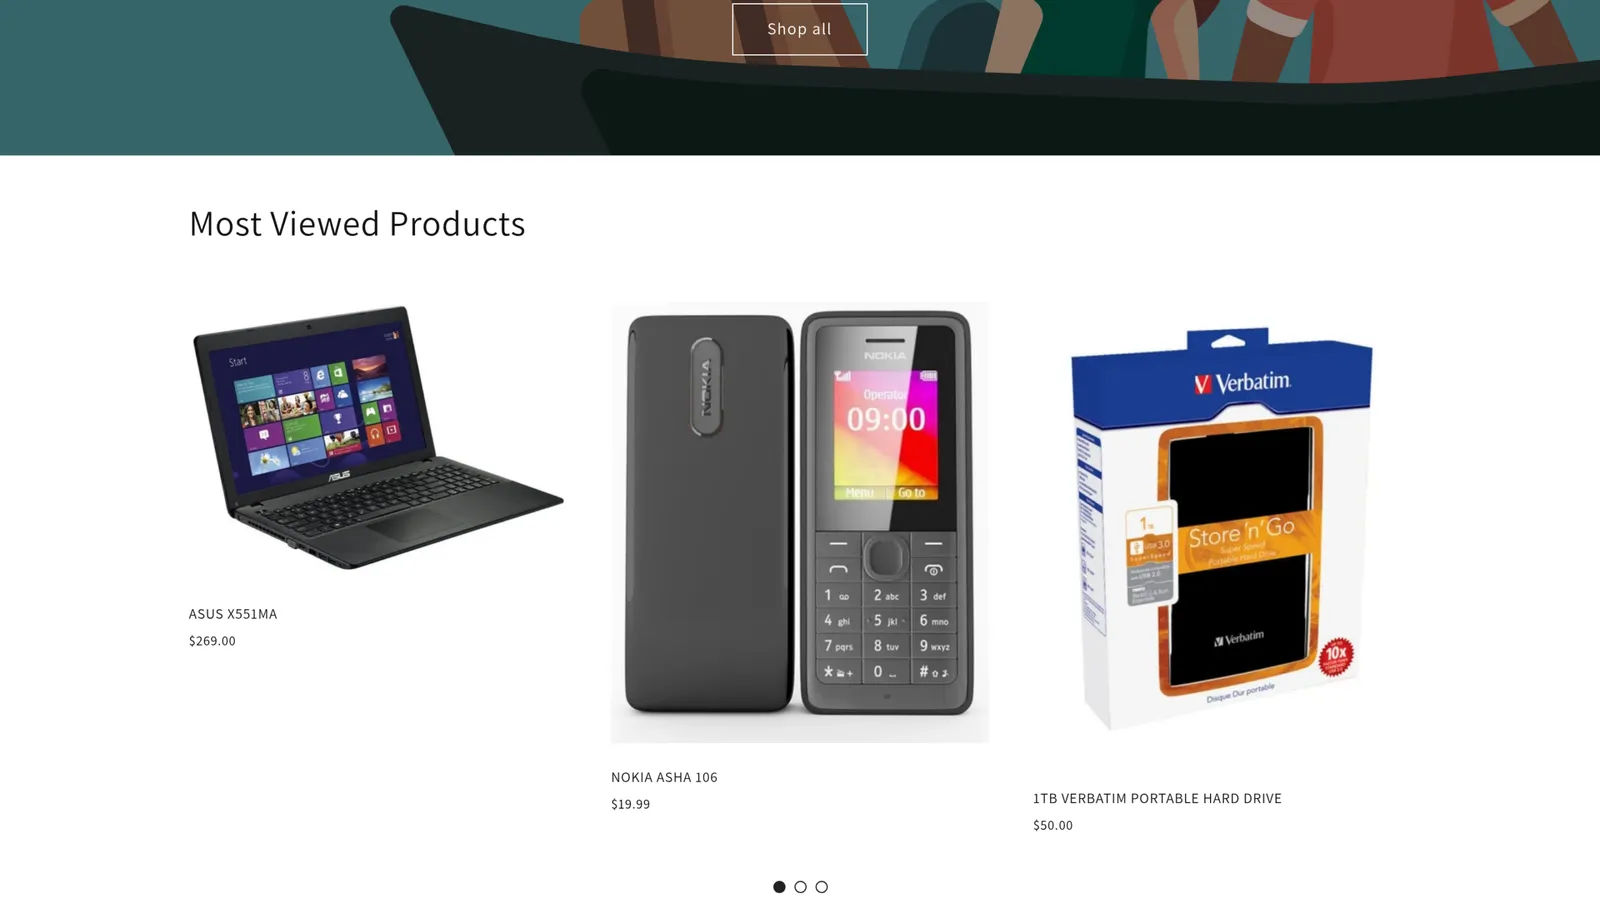
Drag the section to where you want it. You could place it below your hero banner, so the banner still opens the page and the row follows it.
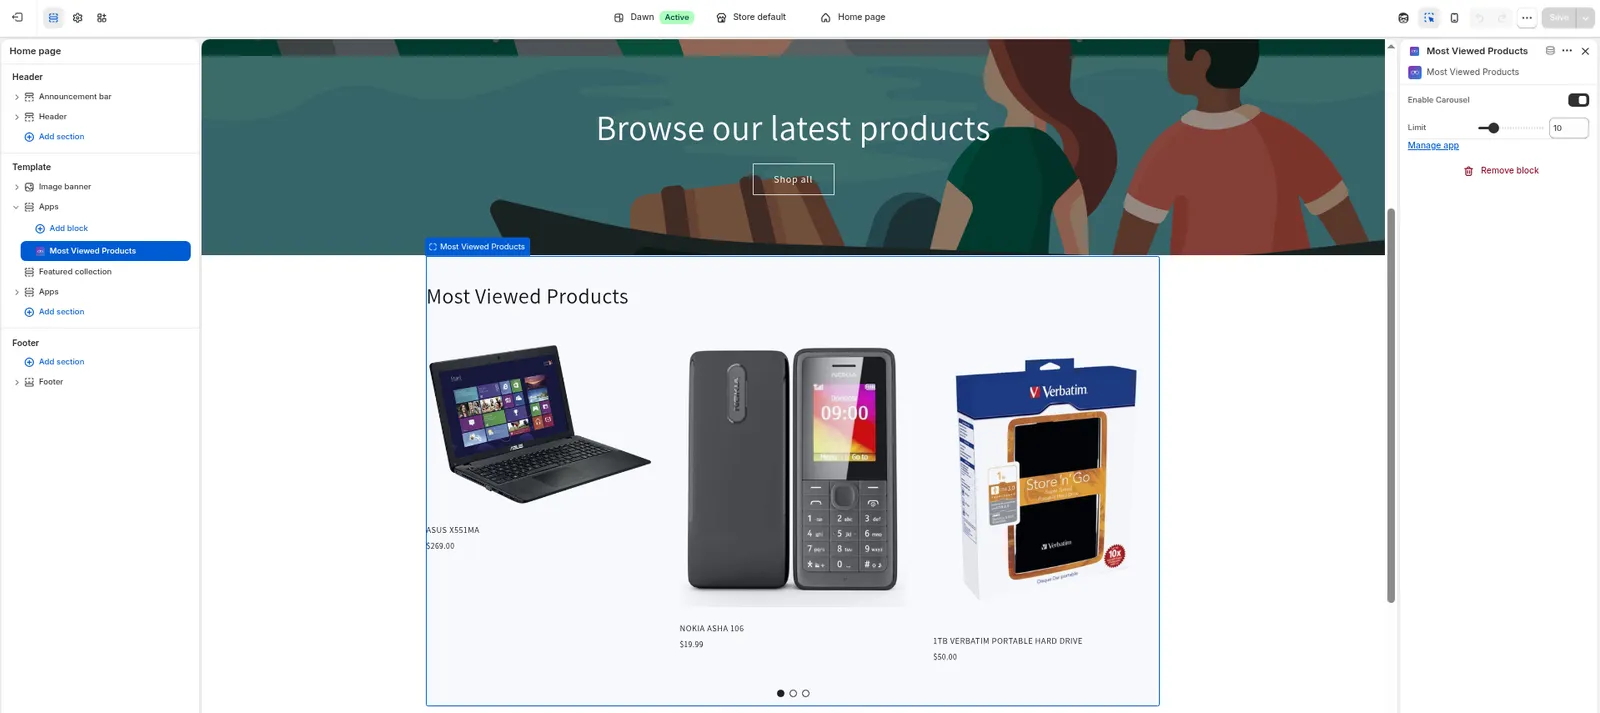
Step 3: Set Enable Carousel and Limit
Click the section’s block and set:
- Enable Carousel, on by default. On gives a swipeable slider. Off gives a static grid that shows every product at once.
- Limit, from 1 to 50, with a default of 10. A smaller number keeps the row short. A larger number gives shoppers more to swipe through.
Click Save in the theme editor.
Step 4: Pick the time window
In the app, open Settings. Under Most Viewed Products widget based on views of, choose:
- All time, the default, which uses lifetime views.
- Monthly, Weekly or Daily, which count views in a window that ends at the start of today in your shop’s time zone. “Daily” therefore means yesterday.
If the window you choose has no data, the row falls back to all-time views. Click Save.
A shorter window lets newer products appear sooner. All time gives a steadier row.
Step 5: Refresh and change the heading (optional)
In Settings, the Caching section has a Regenerate button. Use it after you change the window so you do not wait for the next automatic rebuild. The storefront also keeps a copy for about 30 minutes, so the change may take a little longer to show.
The default heading is “Most Viewed Products”. To change it, open Templates and click Edit next to Widget. Edit opens a code editor. Change only the text inside <h3>Most Viewed Products</h3>, leave the rest as it is (including the data-mvp-carousel attribute, which the carousel needs), click Close, then click Save. This is the only place to rename the heading. Revert to default undoes your edit.
Part 2: What shoppers see
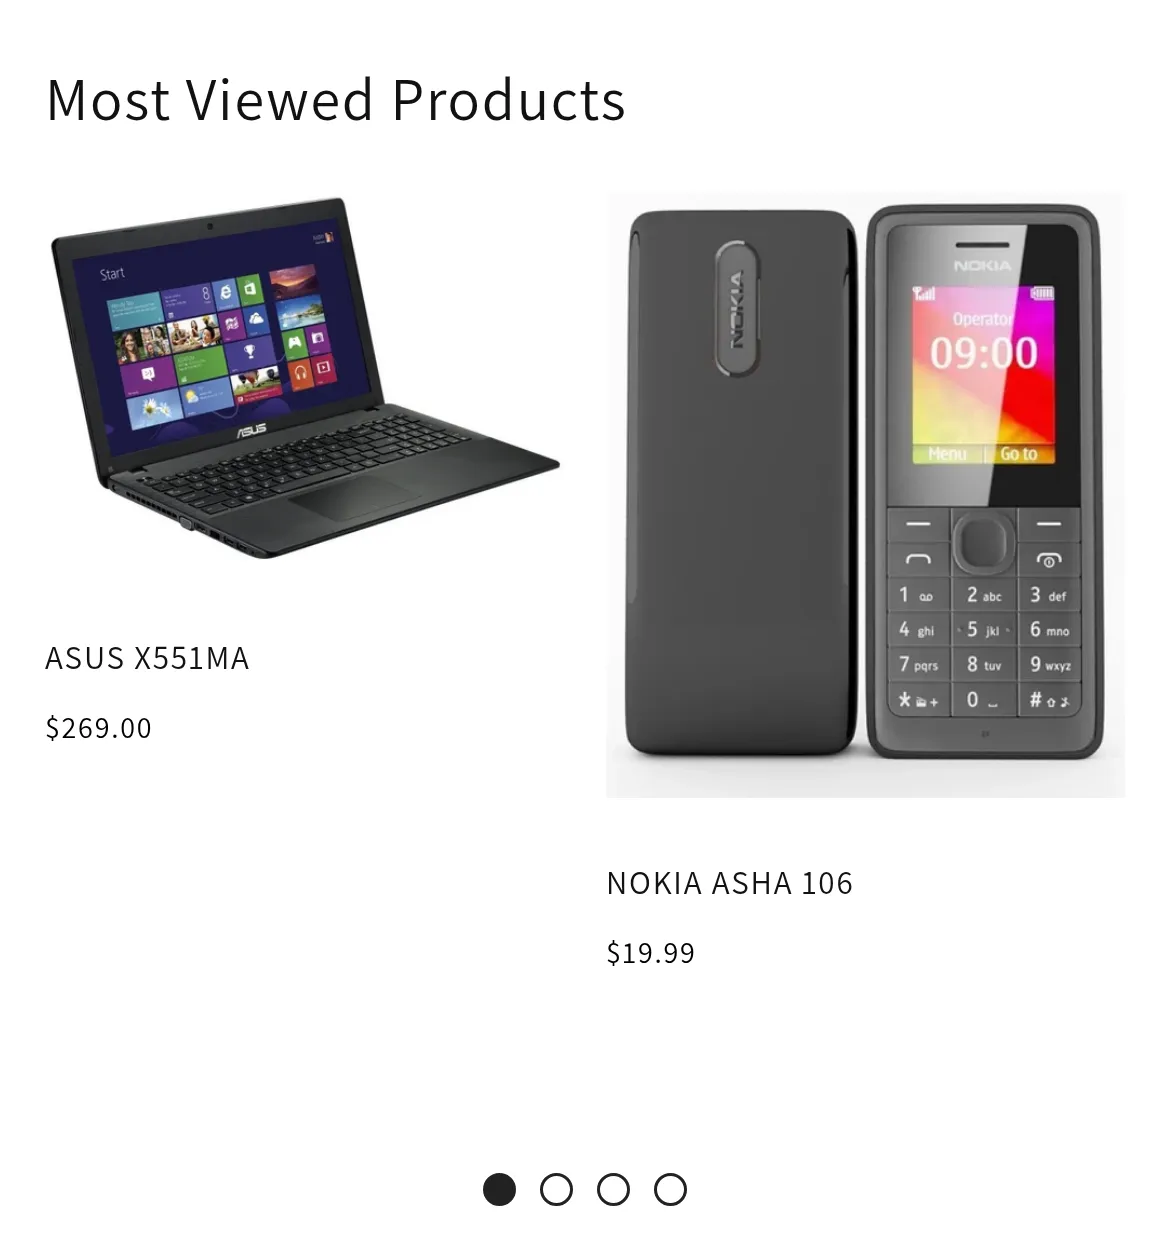
- A heading and a row of products. Each card has the product image, title and price.
- Number of products. The block’s Limit sets how many cards show, from 1 to 50.
- A carousel with dots. With Enable Carousel on, shoppers swipe sideways and use page dots below. There are no arrows. On a computer (850 pixels wide and up) you get three products per row. On a phone you get two.
- A grid instead. With Enable Carousel off, all products show at once in the same layout.
- A lagging list. Because of the rebuild schedule, a product that has just started to attract views may take a few hours to appear.
- An empty row on a new store. If there is no view data yet, the row shows its heading and no products.
Test it before you leave it
- Open the homepage in a private window, so you see what a shopper sees.
- Check the row on a phone as well as a computer.
- If the row looks empty, open a few product pages in the same window, click Regenerate, wait a little and refresh.
A note on wording: since the row follows views, describe it as what people are looking at, not as best sellers.
Last checked: October 2026
Most Viewed Products: https://apps.shopify.com/most-viewed-products